Your first steps in the alitiq API GUI ☀️
Welcome to alitiq. This guide gives you a quick introduction to the API GUI and the first steps to set up your portfolio.
Promise 🙏
You should feel comfortable with us and it should be as easy as possible for you to obtain forecasts for your assets. If this is not the case, get in touch with us directly at: solar@alitiq.com
Dig in 🚧
Now let's start with your first steps in the alitiq API GUI at https://api.alitiq.com/gui.
1. Authenticate with your API key
Open https://api.alitiq.com/gui and authenticate with your personal x-api-key.
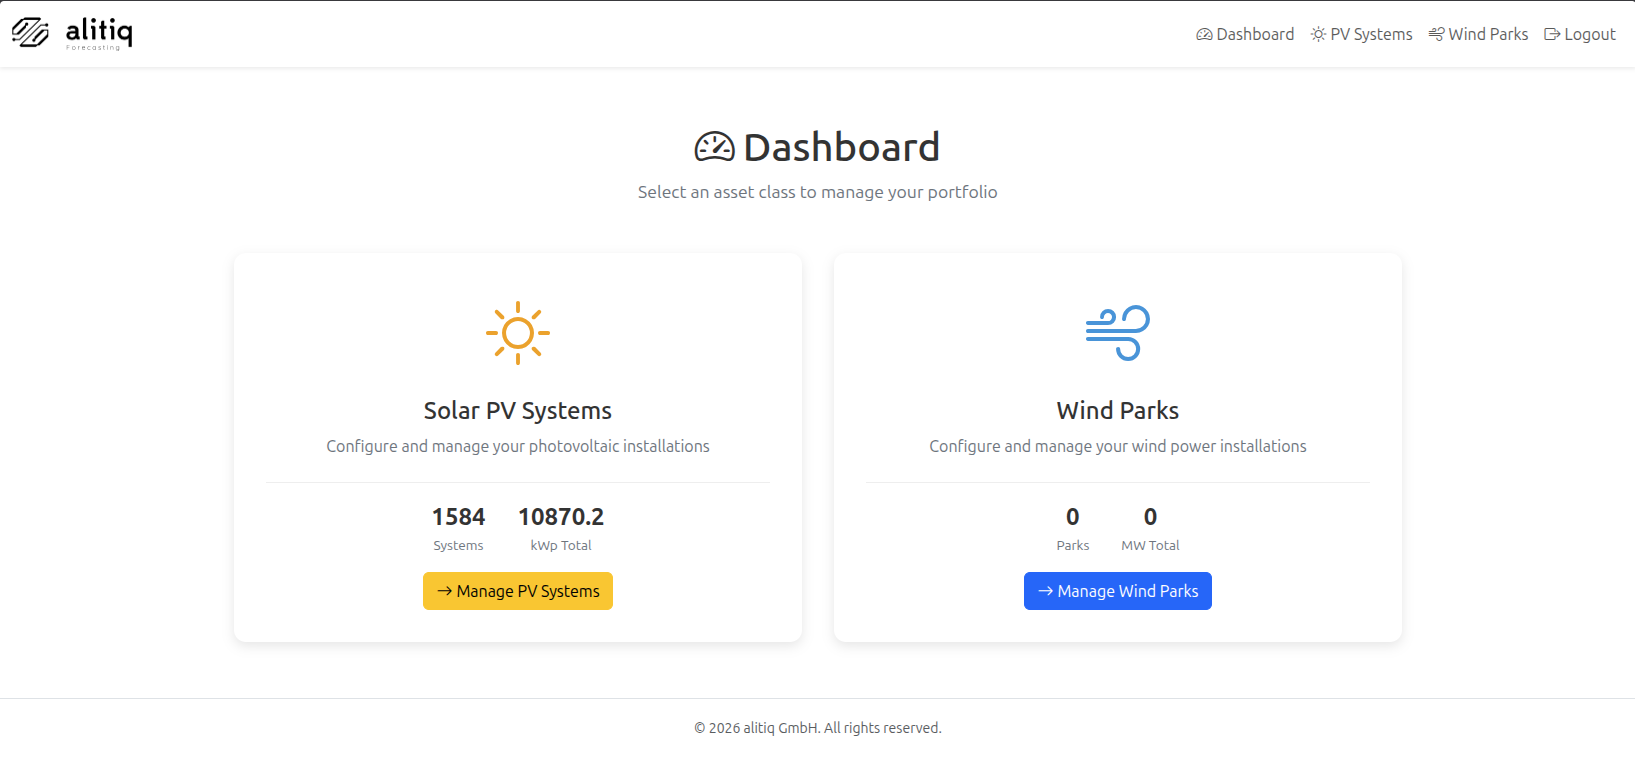
2. Setup your PV systems
To receive your first forecast, set up your PV systems in the GUI. You can inspect the portfolio and add a new system in the setup panel.
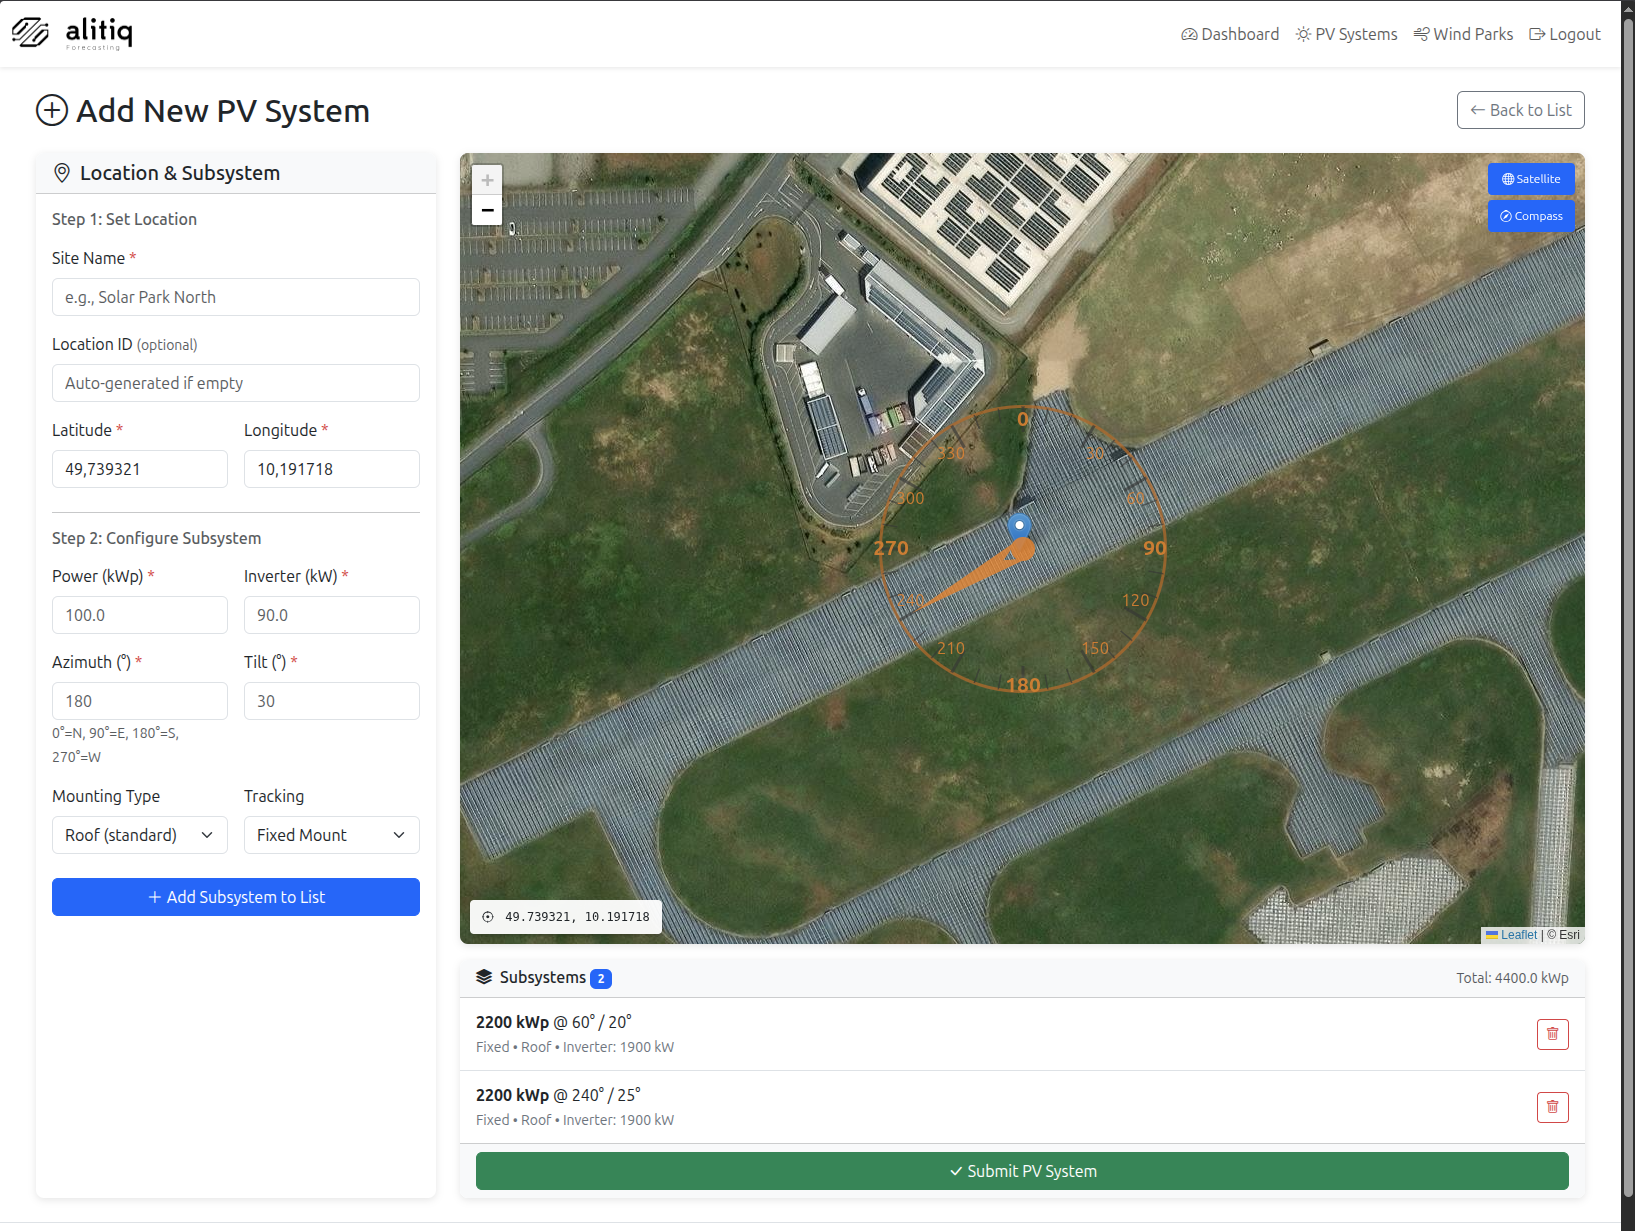
For this step we have a dedicated page to explain how to set up a system in the API GUI here
3. Setup your wind portfolio (new)
You can now also create and manage wind parks directly in the same GUI using your x-api-key.
4. Wait ⏳
We are very sorry, but now we have to wait until the next cycle of forecasts are running. It takes a maximum of 6 hours to see forecasts from all available models.
5. View your forecasts 📈
Now we are ready that you can view your forecasts. Navigate to the Forecast tab in menue. Select a system and you will see the most recent forecast:
6. Plug in the API to your system 🔌
In the Forecastview you will see a tiny API endpoint creator. It will help you to setup the right API calls. For further details on how to receive data from the API take a look into our API Doc
7. Optimized Forecast 🧠
To receive our AI-optimized forecasts, you simply need to push measurements/production data back at least 90 days from now via API. If you do not provide measurements/production data of you PV-systems, a default will be selected for the optimized model.
8. Intraday Updates
In case you update the measurements/production data every 15 minutes, with a delay of max 1 hour, you will receive updates every 15 minutes based on the most recent production of your system.